Leaky roofs and ceilings in either residential or commercial environments aren’t just an inconvenience, they’re also potentially dangerous to both people and property. The common response is to place a bucket of some kind on the floor under the leak to capture the water. This “quick fix” is especially bad in commercial settings, as liability increases exponentially, even if people are warned using “Wet Floor” signs.
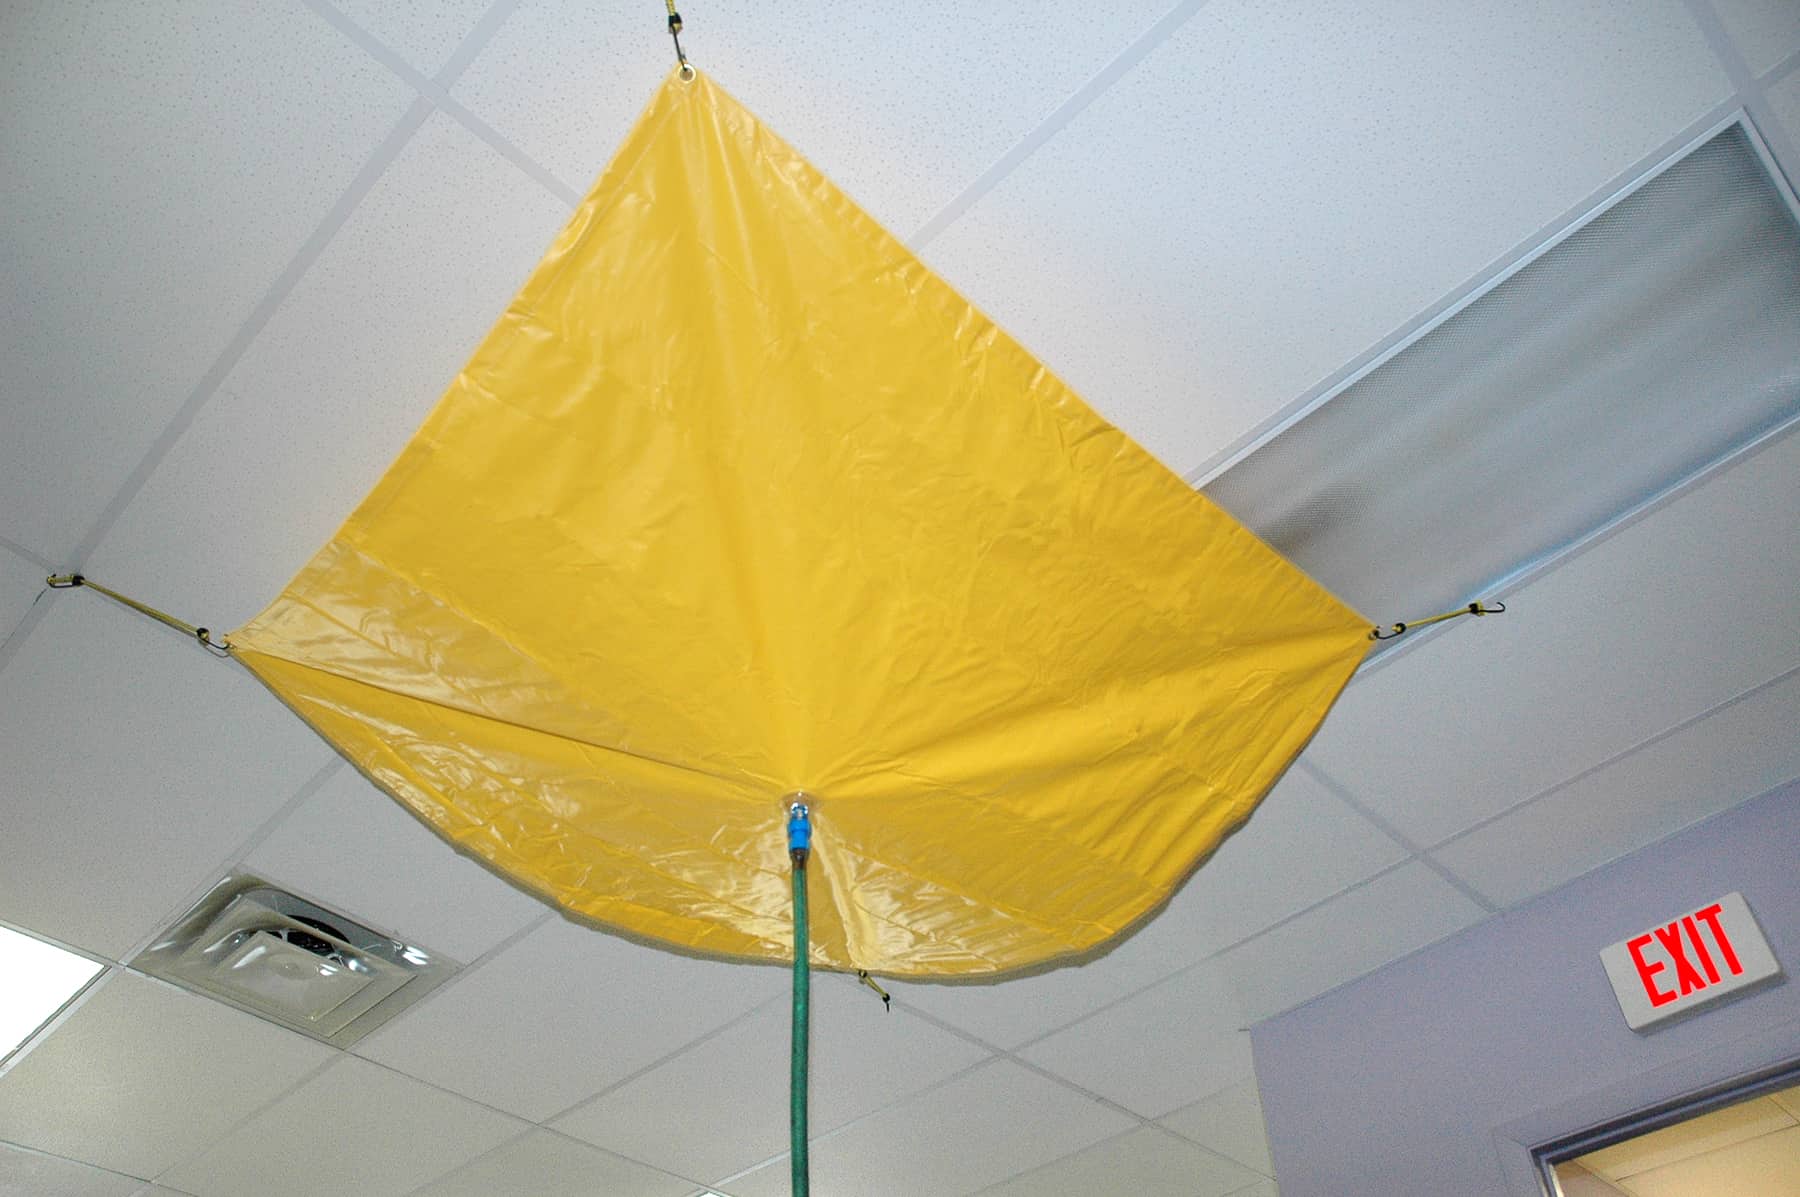
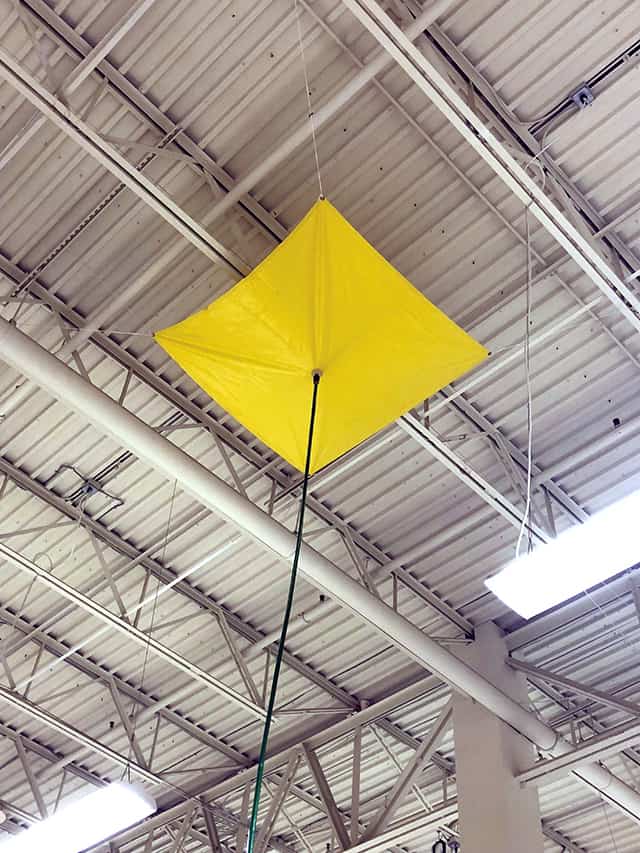
A properly installed roof or ceiling drip diverter is the safest first response to a ceiling leak until the source of the leak can be repaired. Ceiling drip diverters are large, vinyl-coated tarps with a common garden hose connection in the middle and metal grommets in each corner. Bungee cords are used to hang the diverter under the leak, while the hose directs the water into a safe collection point—usually a large sump or drain of some sort.

What Size Ceiling Drip Diverter Do I Need?
It’s difficult to predict what size ceiling drip diverter you’ll need before a leak occurs. It’s probably a good idea to keep at least one mid-sized diverter on hand in case of an emergency leak. Roof or ceiling drip diverters are available in various sizes and are relatively affordable considering their effectiveness. Common ceiling drip diverter sizes are 5’x5′, 10’x10′, and 12’x12′ and range in price from $50 to $150.
Remember that drip diverters are called “drip” diverters for a reason—they are not designed to handle rushing water in the case of a catastrophic roof leak. The water being redirected to the hose via the diverter tarp should not pool much at all. The tarp is designed to “divert” water, not act as a collection point for it. Too much water sitting in the diverter tarp could cause the system to overflow or become too heavy and fail, depending on how and where it is anchored to the ceiling.
Larger drip diverters are designed to cover larger areas, not necessarily to handle more water, as the hose diameter hasn’t changed. In other words, the flow rate of the larger drip diverters will be the same as the smaller models. When planning where a drip diverter may be deployed, consider where leaks may occur, how long or wide those areas are, and where each corner of a drip diverter could be anchored. Larger drip diverters allow for anchor points that are further from the center of the diverter than do smaller models.
How to Install a Ceiling Drip Diverter
Roof or ceiling drip diverters should be hung without a hose attached first, as it will be much easier to manage. The tarp should be secured to the ceiling using bungee cords pulled relatively taut—one in each corner grommet. The drip diverter should not be pulled too tightly in any of the four corners, as water may pool, potentially causing the system to overflow or fail, as explained above. Bungee cords are better than ropes or other tie-downs because they allow the diverter to give a little. Too much give, however, could also cause water to pool given the diameter of the hose and its flow rate.

Once the drip diverter is secured to the ceiling, connect the hose to the bottom/center of the diverter. The hose can then be directed into a sump or, ideally, a drain. Water is directed via gravity, so the hose should maintain a downward trajectory and should not be routed up and down through rafters or other structural supports.
Finally, be sure to monitor the leak to ensure the drip diverter is functioning as it should and that your collection point, if not a drain, doesn’t overflow. If the drip diverter tarp starts to overflow, make sure the hose or hose fitting isn’t clogged, that the tarp isn’t too tight or flat, or that the leak isn’t too significant for the drip diverter to handle (in which case, you may need to find an alternate solution, unfortunately).
How Do I Deal with Exposed Leaky Pipes in the Ceiling?
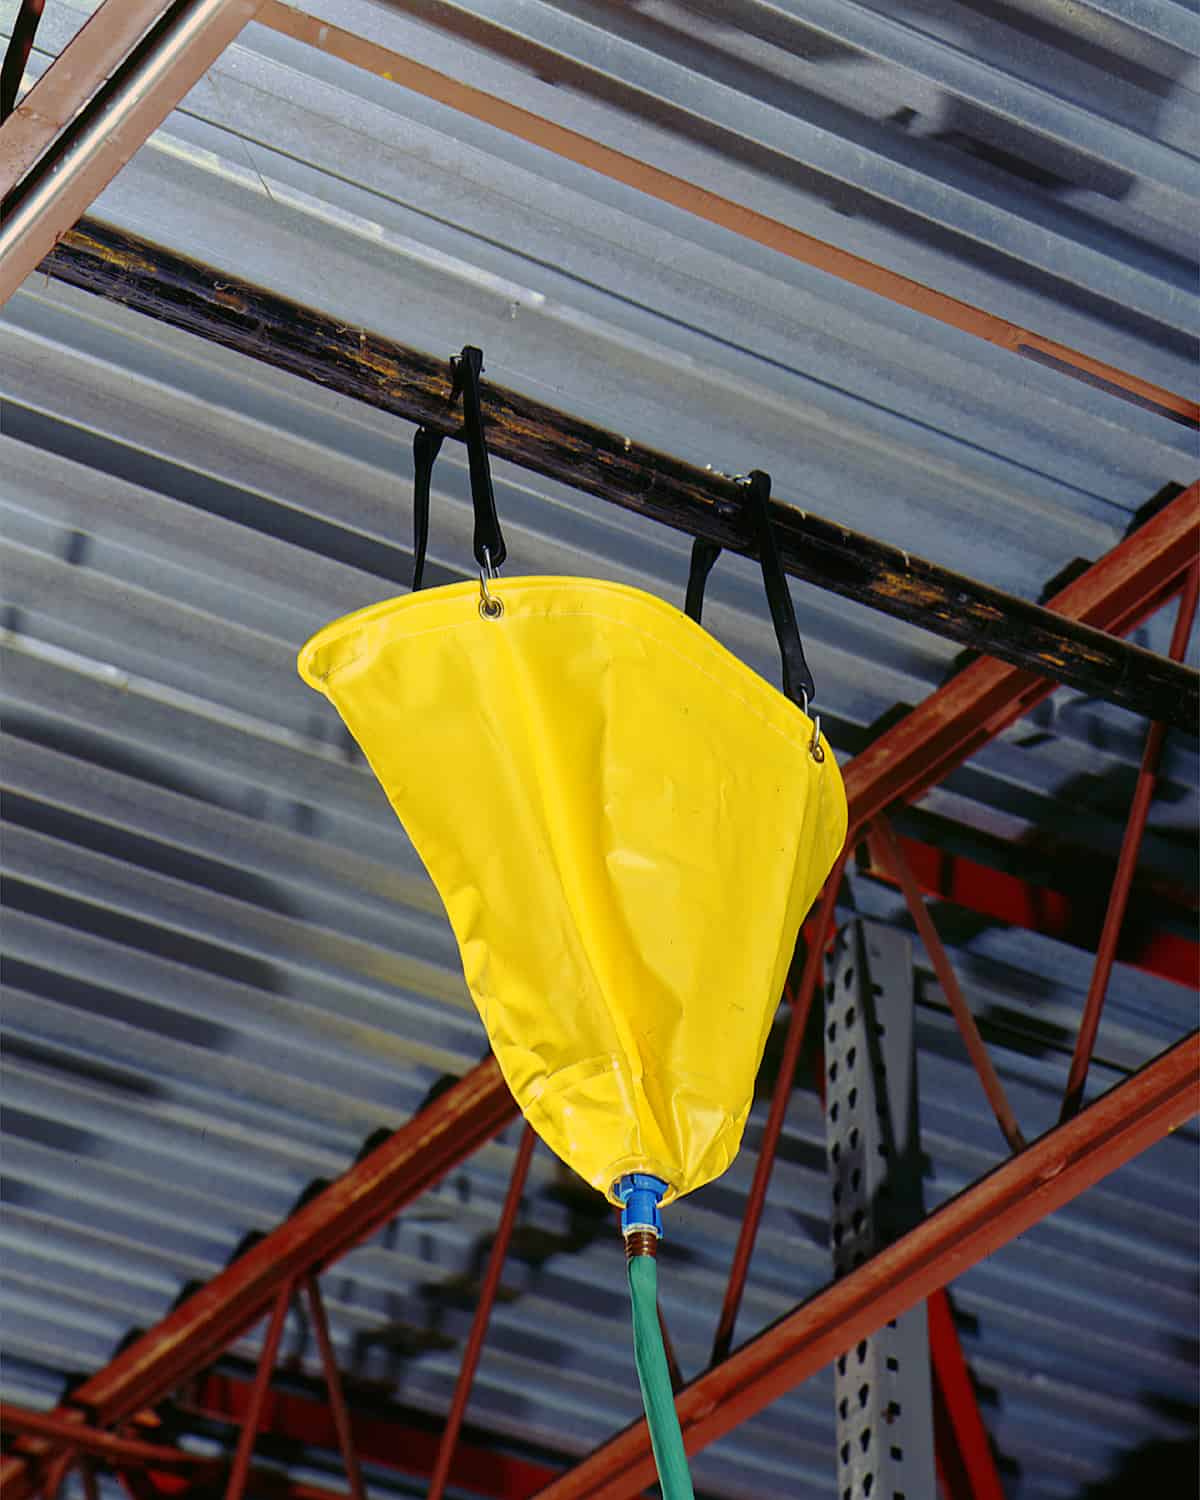
While roof and ceiling drip diverters can be used to redirect water from leaking pipes—exposed or not—there are drip diverters specifically designed for exposed pipes. These pipe drip diverters are shaped differently than roof or ceiling drip diverters in that they are more like actual funnels.

Pipe drip diverters hang from the actual pipe using two bungee cords or similar tie-downs as opposed to using anchor points. The diverter bag is positioned under the section of the pipe that is leaking. This assumes that the leak is no larger than the diameter of the pipe drip diverter–usually around 18″. Just like other drip diverters, a common garden hose is usually secured to the bottom of the diverter and routed down to a sump or drain.


